Showing posts with label fabric. Show all posts

Monday, July 4, 2011

Stars of all Sizes Quilt


Happy 4th of July Quilt: Stars of All Sizes

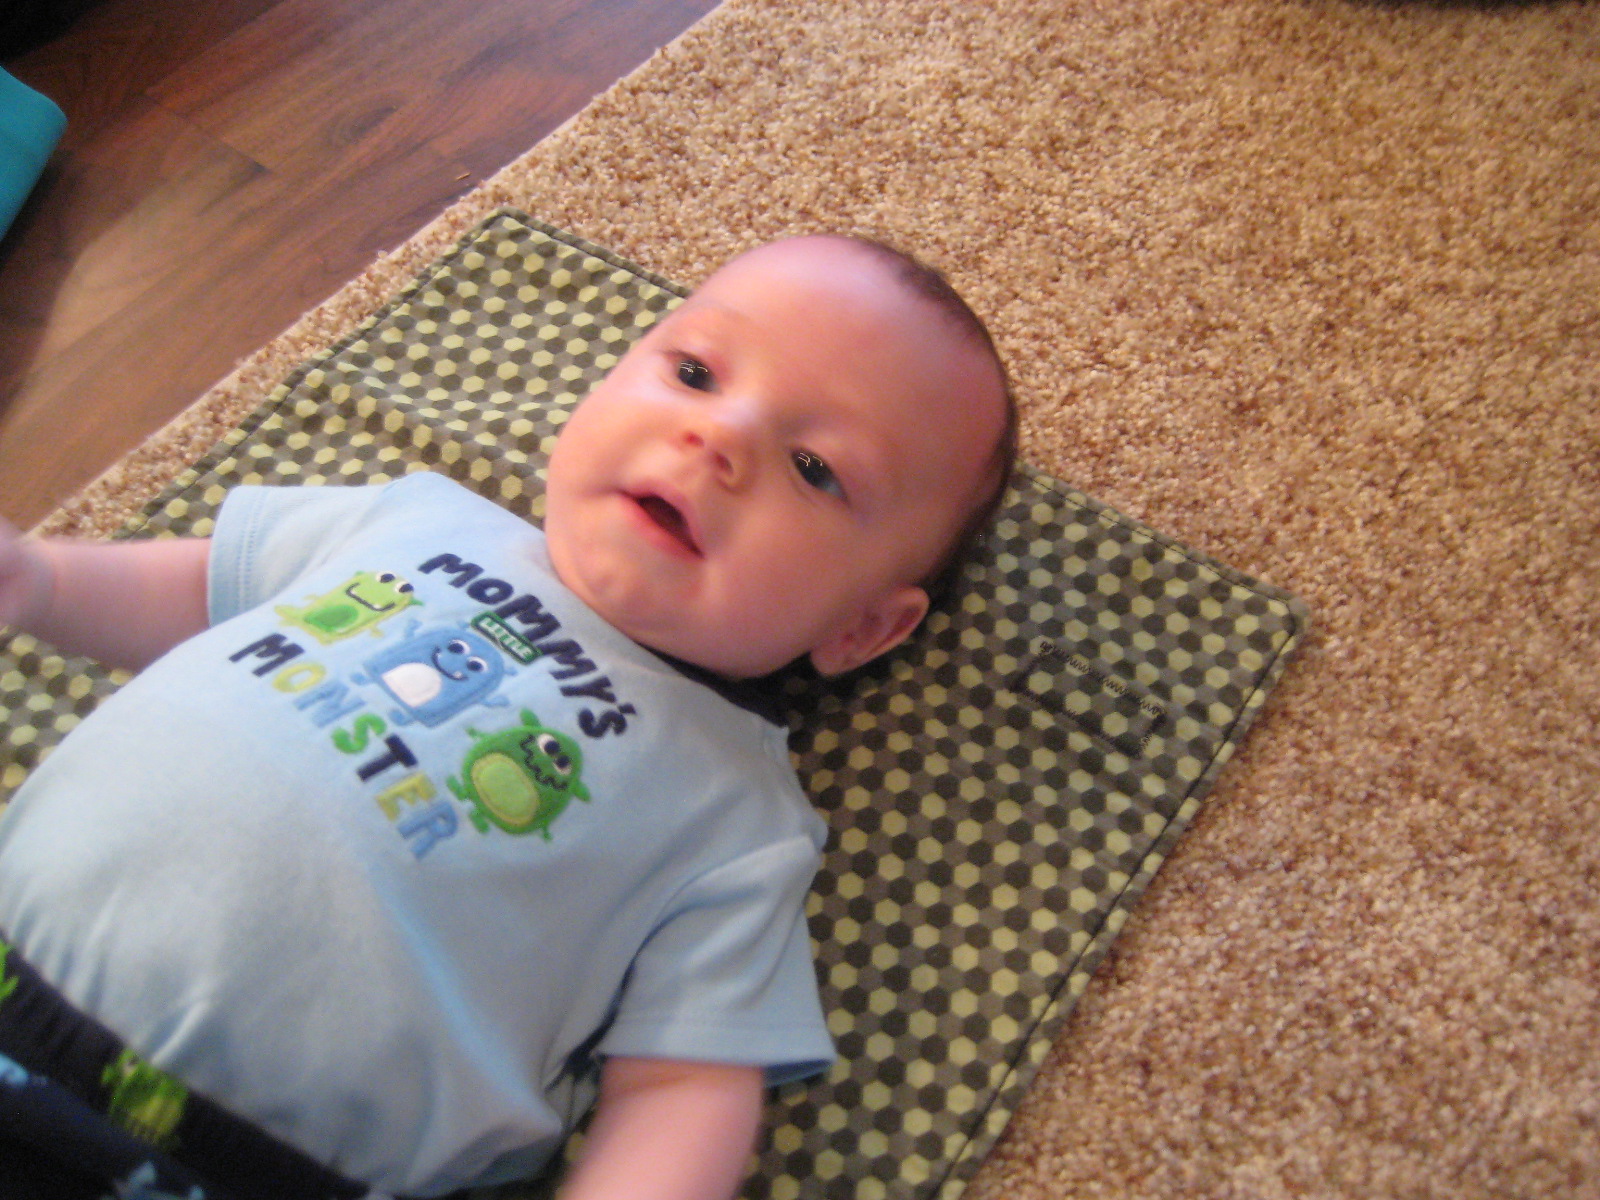
It was hard to make something "manly" with absolutely no flowers, but I loved the end result.  This quilt was a Christmas present I made last year - Stars of all Sizes.  My little star is shown above at Christmas time :)  ((His daddy wore that outfit as a baby!!!))

To piece it, I took discard 12x12 sheets of scrapbook paper and cut them into many sized rectangles.  I drew stars on each with a ruler.  First, a horizontal line across the center.  Then I diagonal  line from the center left to the bottom right.  Then two diagonals on the top for the top point, and four more on the bottom for the center triangle and bottom two points.

After I cut the paper into the pieces, I replace each piece with fabric.  Once I had the fabric for that star cut, I would sew together that block.

I found that this was a very inaccurate way to piece because I hadn't accounted for seam allowances.  But, since it didn't matter the end size of each block, or the mis-figured shapes, they just ended up smaller.

I  started cutting the outside edges much larger for the end-effect of a small star in a big background.  This resulted in a lot of wasted background since the background peices started overlapping terribly the bigger the block was.

I also started using bunches of strips sewn together for my star pieces and for accent squares, creating little vinettes for each star - shown on the left.

I drew every star different every time.  Then I arranged the stars into the future quilt, and started replacing each paper with a fabric star when the block was completed.  On the right is a picture of the paper quilt with some stars replaced.

For the quilting, I wanted to dress up my solid brown sashing, so I chose to quilt stars.  It turned out to be quite a challenge.  Here was my plan, drawn on the computer.  And that's about as good as the actual quilting.

The finished size was about 68"x60".  I used Sandy's cheater binding method (fold the back over to the front and topstitch).  That saved quite a bit of time at the end, and I had NO time left at the end.  It took 30 hours to piece and 10 hours to quilt.  In the end, there were a couple disappointments (there always are).  First, I thought I would like how randomly placed the stars were, but I wish it lined up better.  I just threw sashing in and hoped for the best.  Second, I wish I'd used flannel on the back.  A nice soft functional flannel, maybe thicker batting, so that it would have been more blankety.  I didn't have time to wash it so I don't know if that would have helped.  But I was very happy with everything I learned and I still love how the vinettes turned out.

Happy Fourth of July!  Who is Your Star This Year?

Tuesday, May 17, 2011

More Vanilla House Samples - Patterns for Babies and Girls

Day 2 of the Vanilla House Samples I sewed for my mom:

I sewed a couple of these Bopple Balls (the picture does not do them justice).  The arms take a while so do it in front of a movie.  The actual construction is very fast.  I'm keeping one of these for myself too.  Babies love 'em.

Third...my favorite (I've made almost ten) is the baby girl bib called Diva Babies.  I wanted to call it Breakfast at Tiffany's but I suppose that's not very original.  These are so so cute.  When I first started sewing baby bibs, I felt like they were a lot of effort when you can buy them for cheap.  But I love being able to use really neat bibs because I take lots of pictures of the baby in the high chair!  And they make great gifts.  Now I wish I had a girl....


Speaking of girls, I made these doll dresses and went over to two little girls' house to put them on these American GirlsKit (from the 30's), and Julie (from the 70's).  You know, I was worried they'd look squarish but they were pretty cute on the dolls.

Sample Sewing for Vanilla House

As I get more interested in sewing, I've been sewing more and more of my mom's patterns.  This spring, I was so excited about the patterns I wanted to sew many of them, so I signed up to make samples.  Making samples was fun because there was a purpose, a deadline, and best of all - I got to sew on the latest fabrics!


First, I love how easy and fast this gathered-layered bag goes together.  I've made several and more to come (I want one for myself).  PS.  I got my buttons in the upholstery section of Hobby Lobby.  PS2.  The fabric on the right looked ugly before it was made into a bag but the bag was the cutest!


Second, I made the snail and mushroom.  SOOO cool but I was in a hurry and forgot to take a picture before I mailed them off.  I plan to make more mushrooms of various sizes and smurf colors :).

I'll show my other Vanilla House samples in the next few days!

Sunday, May 1, 2011

Animal Print Slippers

Need some inspiration for mother's day?  How about making some slippers.  My Favorite Things Patterns has a good selection of slippers patterns (this one is...advanced).

Everyone knows my mom loves animal prints.  So when I saw this suede lined with fur, I had to make her some slippers.  These are the same slippers Kristy made me.  You can find the pattern here.

Friday, December 3, 2010

Amanda's Baby Girl Quilt

Well...I finished the quilt and fitted crib sheet and crib skirt.  I only took pictures of the quilt though.  The back middle is the fitted sheet fabric and back border is the crib skirt.  

The fitted sheet was 42"x69" with 7" squares cut from the corners (possibly a little too small but my fabric width shrunk in the wash!?!).  After sewing the side seems, I used my hankercheif edge foot to finish the edge, then turned it over 1/2", sewed, and sent 1/2" elastic through the edges. 

The skirt was two 13"x29" (cut. Then turn under 3 edges with my special foot) sewn to the short sides of a 28"x52" white rectange, and the long sides had two flaps 13"x55" (cut.  Then used 2" in the center to make a pleat - I would suggest doubling that in the future - and finish three of the edges).

The quilt was my first loopy free-motion.  See my other post for a description of the quilt top.

Thanks, mom, for doing my binding for me over Thanksgiving!  Good luck, Amanda, with your new little girl coming at Christmas!


Christmas Hotpad


Another version of the Vanilla House "Hot Stuff" - I needed a quick gift.

Monday, November 15, 2010

The Big Booties


I forgot to actually picture the Big Booties in my Big Booties, Little Booties post.  These are also by Kristy.  Adorable.   I want to make some for my mom and sister but who knows if I'll ever get to it.


Tuesday, November 2, 2010

Umbrella Quilt Top

I am making this for my high school friend (okay, I did have two) who is having a baby girl in December, along with a matching bedskirt and fitted sheet.  And maybe a wall hanging.  Or a diaper holder/laundry thing.  Well, we'll see and I'll post the whole set when it's complete. 

How I made this quilt top:

2 fat quarters of Riley Blake Umbrella fabric - each cut into six 9"x6.5"
2 fat quarters of other Riley Blake that matched - each cut into twelve 4.25"x4.25"

12 grey strips, 4.25"x1.5"

I swapped out a couple of my dozen 4.25x4.25 blocks with other fabric and placed these randomly.

I placed the umbrella fabric rectangles in four rows of three, and made sure that every other rectangle was upside down, and space them for the small rectangles.

I sewed twelve 4.25x4.25 squares to each other with the light grey in between, resulting in my small rectangles, which I placed in between the umbrella rectangles.

The sashing is grey - 2.5"x35" on the sides (trimming extras) and then 3"x36" on the top and bottom. 

I'm using a polka dot binding.
Riley Blake umbrellas for Baby Girl

Monday, November 1, 2010

My Little Stinker


Tuesday, October 26, 2010

Baby Ribbon Blanket


I whipped this out last week - it's a ribbon blanket! It is so soft and fuzzy and the perfect size for some baby's lap. The baby loved it! I had to pull it away from him before he drooled all over some baby girl's ribbon blanket. Unfortunately I don't know any upcoming baby girls right now so I'll have to hang onto this one to give away later.

Here's how to make one. Cut 3 strips of two coordinating fabrics (A and B). Each strip is 6"x18". Sew the front together in the order A-B-A and the back in the order B-A-B. Baste loops of ribbon onto the front, then sew front to back with right sides together. Turn inside out and topstitch all the way around, closing your hole. All done!

I made this with the nanny who has been helping out twice a week. She's such an angel....I feel so lucky to move somewhere new and find someone I can trust the baby with.

Saturday, September 11, 2010

Sandi Henderson Quilt

This is my hourglass quilt (every other block is hourglass).  It's 7 blocks by 11 blocks.  Finished size is 45"x60".  The binding is satin blanket binding.  I've finally decided that even though it is a "kids" blanket, it is so soft in flannel that I'm going to keep it for myself.  I used invisible thread along the inner rectangle, but the blocks are all tied.

Wednesday, August 18, 2010

Baby Boy Bibs

My favorite two were He Did It! -> and <- He Did It! for a set of twin boys, but I forgot to snap a picture before giving them away.  Here are other bibs that I have made.  I sort of made up the pattern myself.  I used a store-bought bib for a rough idea, as the first bib I made (a couple of years ago) was too big for an adult.  Sometimes we don't have a feel for how small kids really are.

Tuesday, August 17, 2010

Gifts From Clara Freidman

Thank you Claire for the beautiful handmade and tied blankets and crocheted booties.  They are fantastic!

Friday, August 13, 2010

Swaddlers

I have learned how absolutely essential this baby item is.  I always wanted to make one just like the one my sister-in-law Kristy made for me!  Actually, I hadn't thought of using something so cuddly and soft for the lining.

Wednesday, August 11, 2010

Big Booties, Little Booties.

This gift I received took both  a lot of ambition and a lot of talent.  Sewing booties is no easy task, although there is a good deal of easing the fabric through.  The first two pieces of art are by Kristy and the simple kimono bootie is by me.


Sunday, June 20, 2010

Kitchen Kritters Hot Pads

I made these exactly out of the fabrics on the pattern cover.  I really love Riley Blake prints and it gave me an excuse to spend $9/yd as I sent them to my mom for Quilt Market related use (it is her pattern).

Monday, June 7, 2010

Two Topsy Turvey Quilts

I picked these fabrics up because I wanted to try a "quilt in a hurry" to match the brown and turquoise PackNPlay that I bought. Turns out they are never done quickly if you quilt them yourself.


Wednesday, June 2, 2010

Baby Quilts

I was surprised to receive these two pieced quilts because they came from out-of-town: one from my junior-year roommate Lisa and one from my sister-in-law Sandy.  I want to especially feature the different bindings on these quilts.


On the first, the binding was sewn onto the front and then turned to the back, where a decorative stitch was used to tack it down.  The width helps to fix the problem that your stitch will never line up just perfectly if it's in the ditch on one side with the edge on the other side.  The other feature of this binding was a "secret embroidery" of the baby's name into the binding.  Stay back!  This blanket belongs to this kid and only this kid.


The second binding technique is featured by this quilt from my sister-in-law Sandy.  You just make the back enough bigger that you turn it to the front and stitch it down.  Since it is not pieced on, it doesn't matter where the stitch lands on the back.  This is very clever and easy. 

Both quilts use a great technique to make quilts easier - you sew several strips together and then cut them into blocks.  Now it is as if you individually sewed on those blocks together.  Fancy....I'd never actually thought about trying this before.  I learn so much from my friends!

Tuesday, June 1, 2010

Rock Climbing Chalk Bags

His and Hers Chalk Bags

I made it up so here you go:

Materials:
Black stretchy fabric 6"x9" (9" is because I bought quarter yards of everything).
Outer fabric that is 9"x9" and some stiff interfacing ironed onto it.
Inner fleece that is 7"x9"
Drawstring
String Pull
Eyelet
1"x9-10" VERY stiff interfacing

So the shortest ends together for all three peices of fabric to make 3 tubes. So the bottom closed on the outer fabric and fleece, making them pockets. Pinch the two bottom corners flat and so a seam across the corner to turn the pockets into gift bags. Fold the black stretchy tube into itself so both inside and outside of tube are the "right side." Sew the black strechy into the fleece as you would a sleeve on a shirt. Sew an extra line about 1/4" above where the fleece and black stretchy meet. This provides casing for the drawstring. In fact, string the drawstring through right now, put an eyelet in your outer fabric. Now for the final stretch.


Place the fleece "gift bag" right-side-in inside the outer "gift bag" which is right-side-out. Align your eyelet with where your drawstring comes out of the black stretchy and pull it through. You should not see any of your seam allowances and you should have one cut edge (the top edge of the bag made of the outer fabric) and one folded edge (the top edge of the black stretchy). Now I take my 1" wide interfacing - didn't even sew it down - and fold it in as I fold down the top edge of the outer fabric. This part is kind of like rolling a sleeve. It took me about 2 folds before I reached the black stretchy. Then I topstiched this down, and the bag was complete!....5 minutes later...oops, it needs a loop or two so it hangs from the caribeaner. Use 2"x9" outer fabric and sew into a tube. Turn, iron flat, and attach to the chalk bag.

Note: The guy at the rock climbing store told me to make sure the fleece is thick enough that the chalk doesn't slip through. I'm happy to report that the walmart $4 fleece works just fine. So does the $8 fleece, which is much softer.


Thursday, May 27, 2010

Baby Changing Pads and Pouches

My own invention is how the changing pad folds and velcros onto itself, so you can fold it up with one hand.  I made two so that one can be in the wash at a time.  The green is by Joel Dewberry (just like the diaper bag).  I couldn't figure out what else I could do with the green.


The blue is a scrap from Sentimental Sorbet and it is my first quilted item.  I'm very happy with how it turned out.