Showing posts with label quilting. Show all posts

Monday, July 4, 2011

Stars of all Sizes Quilt


Happy 4th of July Quilt: Stars of All Sizes

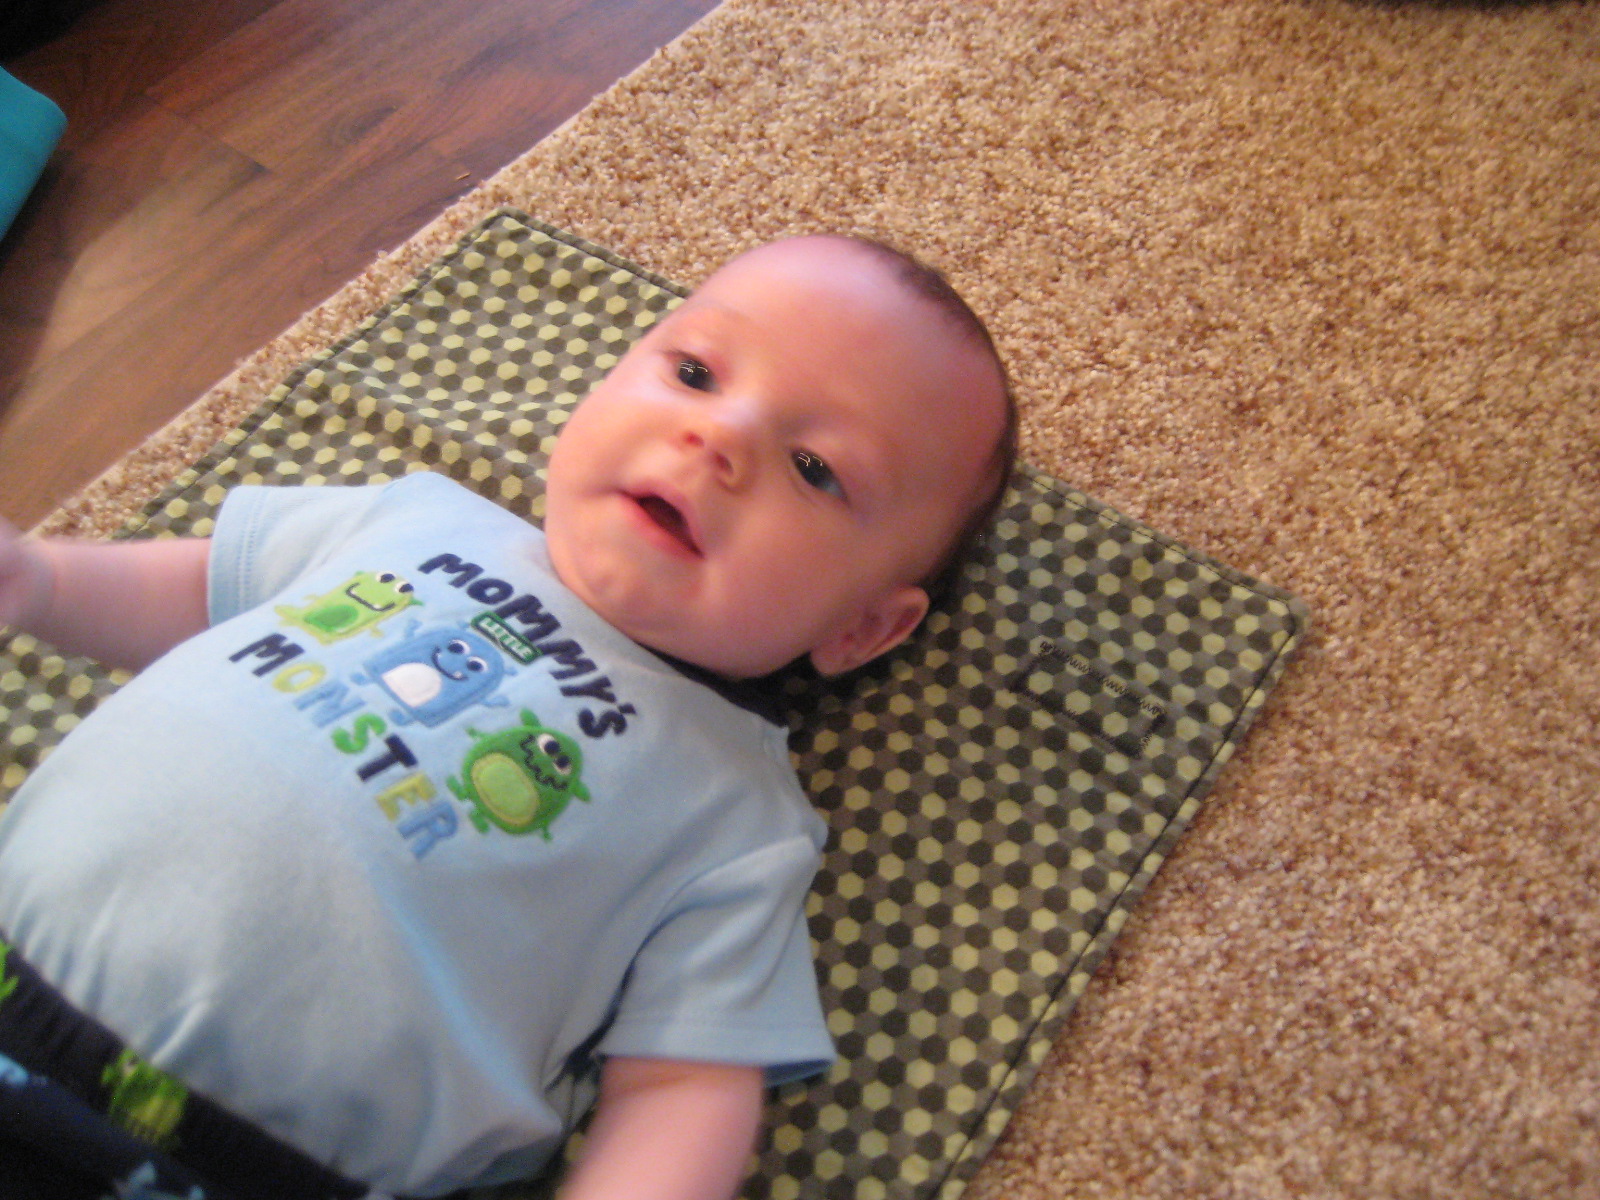
It was hard to make something "manly" with absolutely no flowers, but I loved the end result.  This quilt was a Christmas present I made last year - Stars of all Sizes.  My little star is shown above at Christmas time :)  ((His daddy wore that outfit as a baby!!!))

To piece it, I took discard 12x12 sheets of scrapbook paper and cut them into many sized rectangles.  I drew stars on each with a ruler.  First, a horizontal line across the center.  Then I diagonal  line from the center left to the bottom right.  Then two diagonals on the top for the top point, and four more on the bottom for the center triangle and bottom two points.

After I cut the paper into the pieces, I replace each piece with fabric.  Once I had the fabric for that star cut, I would sew together that block.

I found that this was a very inaccurate way to piece because I hadn't accounted for seam allowances.  But, since it didn't matter the end size of each block, or the mis-figured shapes, they just ended up smaller.

I  started cutting the outside edges much larger for the end-effect of a small star in a big background.  This resulted in a lot of wasted background since the background peices started overlapping terribly the bigger the block was.

I also started using bunches of strips sewn together for my star pieces and for accent squares, creating little vinettes for each star - shown on the left.

I drew every star different every time.  Then I arranged the stars into the future quilt, and started replacing each paper with a fabric star when the block was completed.  On the right is a picture of the paper quilt with some stars replaced.

For the quilting, I wanted to dress up my solid brown sashing, so I chose to quilt stars.  It turned out to be quite a challenge.  Here was my plan, drawn on the computer.  And that's about as good as the actual quilting.

The finished size was about 68"x60".  I used Sandy's cheater binding method (fold the back over to the front and topstitch).  That saved quite a bit of time at the end, and I had NO time left at the end.  It took 30 hours to piece and 10 hours to quilt.  In the end, there were a couple disappointments (there always are).  First, I thought I would like how randomly placed the stars were, but I wish it lined up better.  I just threw sashing in and hoped for the best.  Second, I wish I'd used flannel on the back.  A nice soft functional flannel, maybe thicker batting, so that it would have been more blankety.  I didn't have time to wash it so I don't know if that would have helped.  But I was very happy with everything I learned and I still love how the vinettes turned out.

Happy Fourth of July!  Who is Your Star This Year?

Friday, December 3, 2010

Amanda's Baby Girl Quilt

Well...I finished the quilt and fitted crib sheet and crib skirt.  I only took pictures of the quilt though.  The back middle is the fitted sheet fabric and back border is the crib skirt.  

The fitted sheet was 42"x69" with 7" squares cut from the corners (possibly a little too small but my fabric width shrunk in the wash!?!).  After sewing the side seems, I used my hankercheif edge foot to finish the edge, then turned it over 1/2", sewed, and sent 1/2" elastic through the edges. 

The skirt was two 13"x29" (cut. Then turn under 3 edges with my special foot) sewn to the short sides of a 28"x52" white rectange, and the long sides had two flaps 13"x55" (cut.  Then used 2" in the center to make a pleat - I would suggest doubling that in the future - and finish three of the edges).

The quilt was my first loopy free-motion.  See my other post for a description of the quilt top.

Thanks, mom, for doing my binding for me over Thanksgiving!  Good luck, Amanda, with your new little girl coming at Christmas!


Tuesday, November 2, 2010

Umbrella Quilt Top

I am making this for my high school friend (okay, I did have two) who is having a baby girl in December, along with a matching bedskirt and fitted sheet.  And maybe a wall hanging.  Or a diaper holder/laundry thing.  Well, we'll see and I'll post the whole set when it's complete. 

How I made this quilt top:

2 fat quarters of Riley Blake Umbrella fabric - each cut into six 9"x6.5"
2 fat quarters of other Riley Blake that matched - each cut into twelve 4.25"x4.25"

12 grey strips, 4.25"x1.5"

I swapped out a couple of my dozen 4.25x4.25 blocks with other fabric and placed these randomly.

I placed the umbrella fabric rectangles in four rows of three, and made sure that every other rectangle was upside down, and space them for the small rectangles.

I sewed twelve 4.25x4.25 squares to each other with the light grey in between, resulting in my small rectangles, which I placed in between the umbrella rectangles.

The sashing is grey - 2.5"x35" on the sides (trimming extras) and then 3"x36" on the top and bottom. 

I'm using a polka dot binding.
Riley Blake umbrellas for Baby Girl

Saturday, September 11, 2010

Sandi Henderson Quilt

This is my hourglass quilt (every other block is hourglass).  It's 7 blocks by 11 blocks.  Finished size is 45"x60".  The binding is satin blanket binding.  I've finally decided that even though it is a "kids" blanket, it is so soft in flannel that I'm going to keep it for myself.  I used invisible thread along the inner rectangle, but the blocks are all tied.

Monday, June 7, 2010

Two Topsy Turvey Quilts

I picked these fabrics up because I wanted to try a "quilt in a hurry" to match the brown and turquoise PackNPlay that I bought. Turns out they are never done quickly if you quilt them yourself.


Wednesday, June 2, 2010

Baby Quilts

I was surprised to receive these two pieced quilts because they came from out-of-town: one from my junior-year roommate Lisa and one from my sister-in-law Sandy.  I want to especially feature the different bindings on these quilts.


On the first, the binding was sewn onto the front and then turned to the back, where a decorative stitch was used to tack it down.  The width helps to fix the problem that your stitch will never line up just perfectly if it's in the ditch on one side with the edge on the other side.  The other feature of this binding was a "secret embroidery" of the baby's name into the binding.  Stay back!  This blanket belongs to this kid and only this kid.


The second binding technique is featured by this quilt from my sister-in-law Sandy.  You just make the back enough bigger that you turn it to the front and stitch it down.  Since it is not pieced on, it doesn't matter where the stitch lands on the back.  This is very clever and easy. 

Both quilts use a great technique to make quilts easier - you sew several strips together and then cut them into blocks.  Now it is as if you individually sewed on those blocks together.  Fancy....I'd never actually thought about trying this before.  I learn so much from my friends!

Thursday, May 27, 2010

Baby Changing Pads and Pouches

My own invention is how the changing pad folds and velcros onto itself, so you can fold it up with one hand.  I made two so that one can be in the wash at a time.  The green is by Joel Dewberry (just like the diaper bag).  I couldn't figure out what else I could do with the green.


The blue is a scrap from Sentimental Sorbet and it is my first quilted item.  I'm very happy with how it turned out.

Friday, March 12, 2010

Polka Dot Curtains


I'm going to share my craft room now, so instead of my purple curtains, I wanted to throw together something less girly.  Here are the instructions I made up:

13 peices of 4.5x9" for the tabs.  Fold hot dog style and sew into a tube.  Turn inside out (move seam to center), fold in half hot dog style (seam hidden), and pin every 9" along the curtain front panel (~135" wide). 

Curtain front: Three 12" tall by width of the fabric of your favorite print, sewn together on the short ends.
Curtain back: Three 11.95" =) tall by width of the fabric in white, sewn together on the short ends.
Curtain trim: Three 6" by width of fabric in coordinating print, sewn together on the short ends, ironed in half the long way.

Sew front to back along the top, making sure tabs are in the seam allowance too.  Sew along the short sides and turn inside out.  Only the bottom edge is raw.  Sew the curtain trim to the bottom of the curtain (turn the side edges inside).  Then fold to the back (on the crease) and topstitch, stitch-in-the-ditch or handstitch the back edge down.

Here's the quilt top for the Topsy Turvey quilt that matches.

Tuesday, October 27, 2009

Sorbet Quilt Top