His and Hers Chalk Bags
I made it up so here you go:
Materials:
Black stretchy fabric 6"x9" (9" is because I bought quarter yards of everything).
Outer fabric that is 9"x9" and some stiff interfacing ironed onto it.
Inner fleece that is 7"x9"
Drawstring
String Pull
Eyelet
1"x9-10" VERY stiff interfacing
So the shortest ends together for all three peices of fabric to make 3 tubes. So the bottom closed on the outer fabric and fleece, making them pockets. Pinch the two bottom corners flat and so a seam across the corner to turn the pockets into gift bags. Fold the black stretchy tube into itself so both inside and outside of tube are the "right side." Sew the black strechy into the fleece as you would a sleeve on a shirt. Sew an extra line about 1/4" above where the fleece and black stretchy meet. This provides casing for the drawstring. In fact, string the drawstring through right now, put an eyelet in your outer fabric. Now for the final stretch.

Place the fleece "gift bag" right-side-in inside the outer "gift bag" which is right-side-out. Align your eyelet with where your drawstring comes out of the black stretchy and pull it through. You should not see any of your seam allowances and you should have one cut edge (the top edge of the bag made of the outer fabric) and one folded edge (the top edge of the black stretchy). Now I take my 1" wide interfacing - didn't even sew it down - and fold it in as I fold down the top edge of the outer fabric. This part is kind of like rolling a sleeve. It took me about 2 folds before I reached the black stretchy. Then I topstiched this down, and the bag was complete!....5 minutes later...oops, it needs a loop or two so it hangs from the caribeaner. Use 2"x9" outer fabric and sew into a tube. Turn, iron flat, and attach to the chalk bag.
Note: The guy at the rock climbing store told me to make sure the fleece is thick enough that the chalk doesn't slip through. I'm happy to report that the walmart $4 fleece works just fine. So does the $8 fleece, which is much softer.


 I looked up a pattern online and then made my own, but I would say this was very poor. The only good thing is that the color is pretty discreet. Stay tuned for a post when I make a new (cute) nursing apron and I'll tell you the right way to make it.


 The first picture is a blanket crocheted by my sister-in-law Michelle. The picture doesn't do it justice because it really shines. And it's really warm. And it's quite a bit bigger than the second blanket. The edging is fantastic so I had to take a close-up picture of that. I'm hoping this turns into one of those blankets that the baby can drag around until he's too old for it ;)


 This gift I received took both a lot of ambition and a lot of talent. Sewing booties is no easy task, although there is a good deal of easing the fabric through. The first two pieces of art are by Kristy and the simple kimono bootie is by me.


 On the first, the binding was sewn onto the front and then turned to the back, where a decorative stitch was used to tack it down. The width helps to fix the problem that your stitch will never line up just perfectly if it's in the ditch on one side with the edge on the other side. The other feature of this binding was a "secret embroidery" of the baby's name into the binding. Stay back! This blanket belongs to this kid and only this kid.


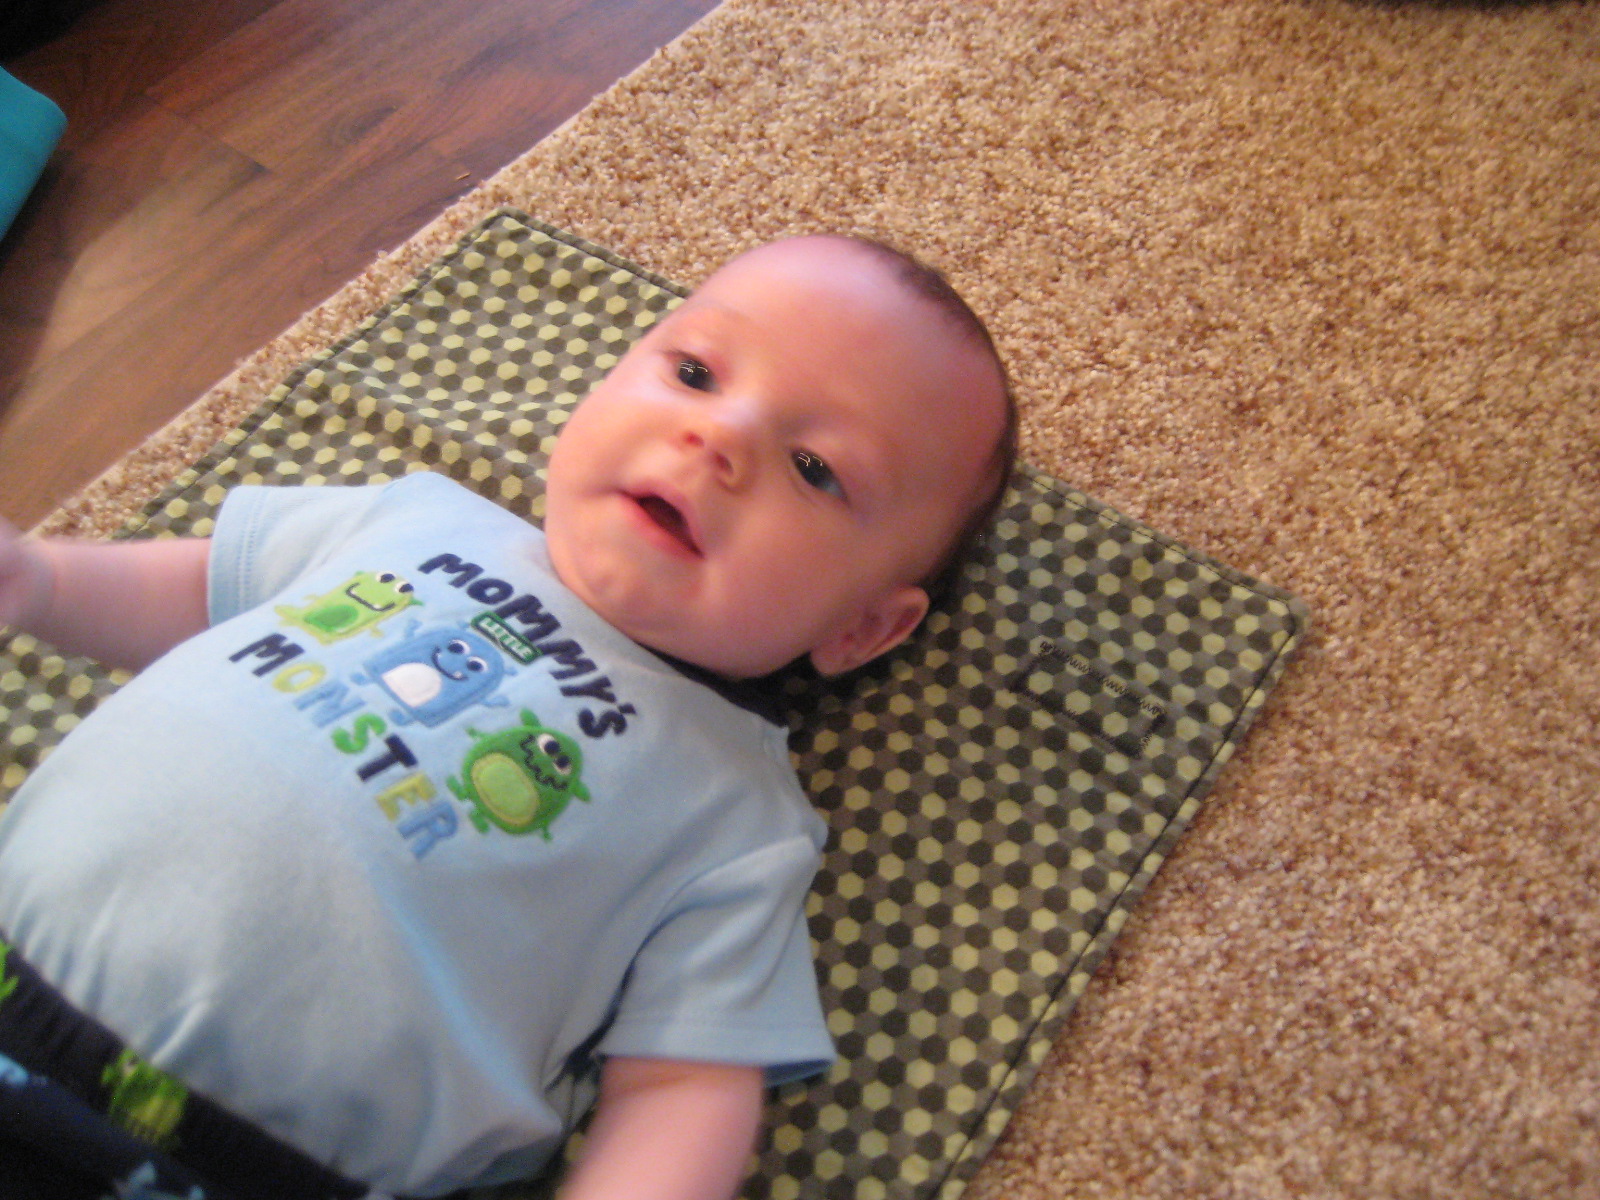
 My own invention is how the changing pad folds and velcros onto itself, so you can fold it up with one hand. I made two so that one can be in the wash at a time. The green is by Joel Dewberry (just like the diaper bag). I couldn't figure out what else I could do with the green.