
Sunday, June 20, 2010
Kitchen Kritters Hot Pads
I made these exactly out of the fabrics on the pattern cover. I really love Riley Blake prints and it gave me an excuse to spend $9/yd as I sent them to my mom for Quilt Market related use (it is her pattern).

Monday, June 7, 2010
Two Topsy Turvey Quilts
I picked these fabrics up because I wanted to try a "quilt in a hurry" to match the brown and turquoise PackNPlay that I bought. Turns out they are never done quickly if you quilt them yourself.


Wednesday, June 2, 2010
Baby Quilts
I was surprised to receive these two pieced quilts because they came from out-of-town: one from my junior-year roommate Lisa and one from my sister-in-law Sandy. I want to especially feature the different bindings on these quilts.


 On the first, the binding was sewn onto the front and then turned to the back, where a decorative stitch was used to tack it down. The width helps to fix the problem that your stitch will never line up just perfectly if it's in the ditch on one side with the edge on the other side. The other feature of this binding was a "secret embroidery" of the baby's name into the binding. Stay back! This blanket belongs to this kid and only this kid.

The second binding technique is featured by this quilt from my sister-in-law Sandy. You just make the back enough bigger that you turn it to the front and stitch it down. Since it is not pieced on, it doesn't matter where the stitch lands on the back. This is very clever and easy.
 Both quilts use a great technique to make quilts easier - you sew several strips together and then cut them into blocks. Now it is as if you individually sewed on those blocks together. Fancy....I'd never actually thought about trying this before. I learn so much from my friends!


 On the first, the binding was sewn onto the front and then turned to the back, where a decorative stitch was used to tack it down. The width helps to fix the problem that your stitch will never line up just perfectly if it's in the ditch on one side with the edge on the other side. The other feature of this binding was a "secret embroidery" of the baby's name into the binding. Stay back! This blanket belongs to this kid and only this kid.
The second binding technique is featured by this quilt from my sister-in-law Sandy. You just make the back enough bigger that you turn it to the front and stitch it down. Since it is not pieced on, it doesn't matter where the stitch lands on the back. This is very clever and easy.

Tuesday, June 1, 2010
Rock Climbing Chalk Bags
His and Hers Chalk Bags
I made it up so here you go:
Materials:
Black stretchy fabric 6"x9" (9" is because I bought quarter yards of everything).
Outer fabric that is 9"x9" and some stiff interfacing ironed onto it.
Inner fleece that is 7"x9"
Drawstring
String Pull
Eyelet
1"x9-10" VERY stiff interfacing
So the shortest ends together for all three peices of fabric to make 3 tubes. So the bottom closed on the outer fabric and fleece, making them pockets. Pinch the two bottom corners flat and so a seam across the corner to turn the pockets into gift bags. Fold the black stretchy tube into itself so both inside and outside of tube are the "right side." Sew the black strechy into the fleece as you would a sleeve on a shirt. Sew an extra line about 1/4" above where the fleece and black stretchy meet. This provides casing for the drawstring. In fact, string the drawstring through right now, put an eyelet in your outer fabric. Now for the final stretch.

Place the fleece "gift bag" right-side-in inside the outer "gift bag" which is right-side-out. Align your eyelet with where your drawstring comes out of the black stretchy and pull it through. You should not see any of your seam allowances and you should have one cut edge (the top edge of the bag made of the outer fabric) and one folded edge (the top edge of the black stretchy). Now I take my 1" wide interfacing - didn't even sew it down - and fold it in as I fold down the top edge of the outer fabric. This part is kind of like rolling a sleeve. It took me about 2 folds before I reached the black stretchy. Then I topstiched this down, and the bag was complete!....5 minutes later...oops, it needs a loop or two so it hangs from the caribeaner. Use 2"x9" outer fabric and sew into a tube. Turn, iron flat, and attach to the chalk bag.

I made it up so here you go:
Materials:
Black stretchy fabric 6"x9" (9" is because I bought quarter yards of everything).
Outer fabric that is 9"x9" and some stiff interfacing ironed onto it.
Inner fleece that is 7"x9"
Drawstring
String Pull
Eyelet
1"x9-10" VERY stiff interfacing
So the shortest ends together for all three peices of fabric to make 3 tubes. So the bottom closed on the outer fabric and fleece, making them pockets. Pinch the two bottom corners flat and so a seam across the corner to turn the pockets into gift bags. Fold the black stretchy tube into itself so both inside and outside of tube are the "right side." Sew the black strechy into the fleece as you would a sleeve on a shirt. Sew an extra line about 1/4" above where the fleece and black stretchy meet. This provides casing for the drawstring. In fact, string the drawstring through right now, put an eyelet in your outer fabric. Now for the final stretch.

Place the fleece "gift bag" right-side-in inside the outer "gift bag" which is right-side-out. Align your eyelet with where your drawstring comes out of the black stretchy and pull it through. You should not see any of your seam allowances and you should have one cut edge (the top edge of the bag made of the outer fabric) and one folded edge (the top edge of the black stretchy). Now I take my 1" wide interfacing - didn't even sew it down - and fold it in as I fold down the top edge of the outer fabric. This part is kind of like rolling a sleeve. It took me about 2 folds before I reached the black stretchy. Then I topstiched this down, and the bag was complete!....5 minutes later...oops, it needs a loop or two so it hangs from the caribeaner. Use 2"x9" outer fabric and sew into a tube. Turn, iron flat, and attach to the chalk bag.
Note: The guy at the rock climbing store told me to make sure the fleece is thick enough that the chalk doesn't slip through. I'm happy to report that the walmart $4 fleece works just fine. So does the $8 fleece, which is much softer.

Thursday, May 27, 2010
Baby Changing Pads and Pouches
 My own invention is how the changing pad folds and velcros onto itself, so you can fold it up with one hand. I made two so that one can be in the wash at a time. The green is by Joel Dewberry (just like the diaper bag). I couldn't figure out what else I could do with the green.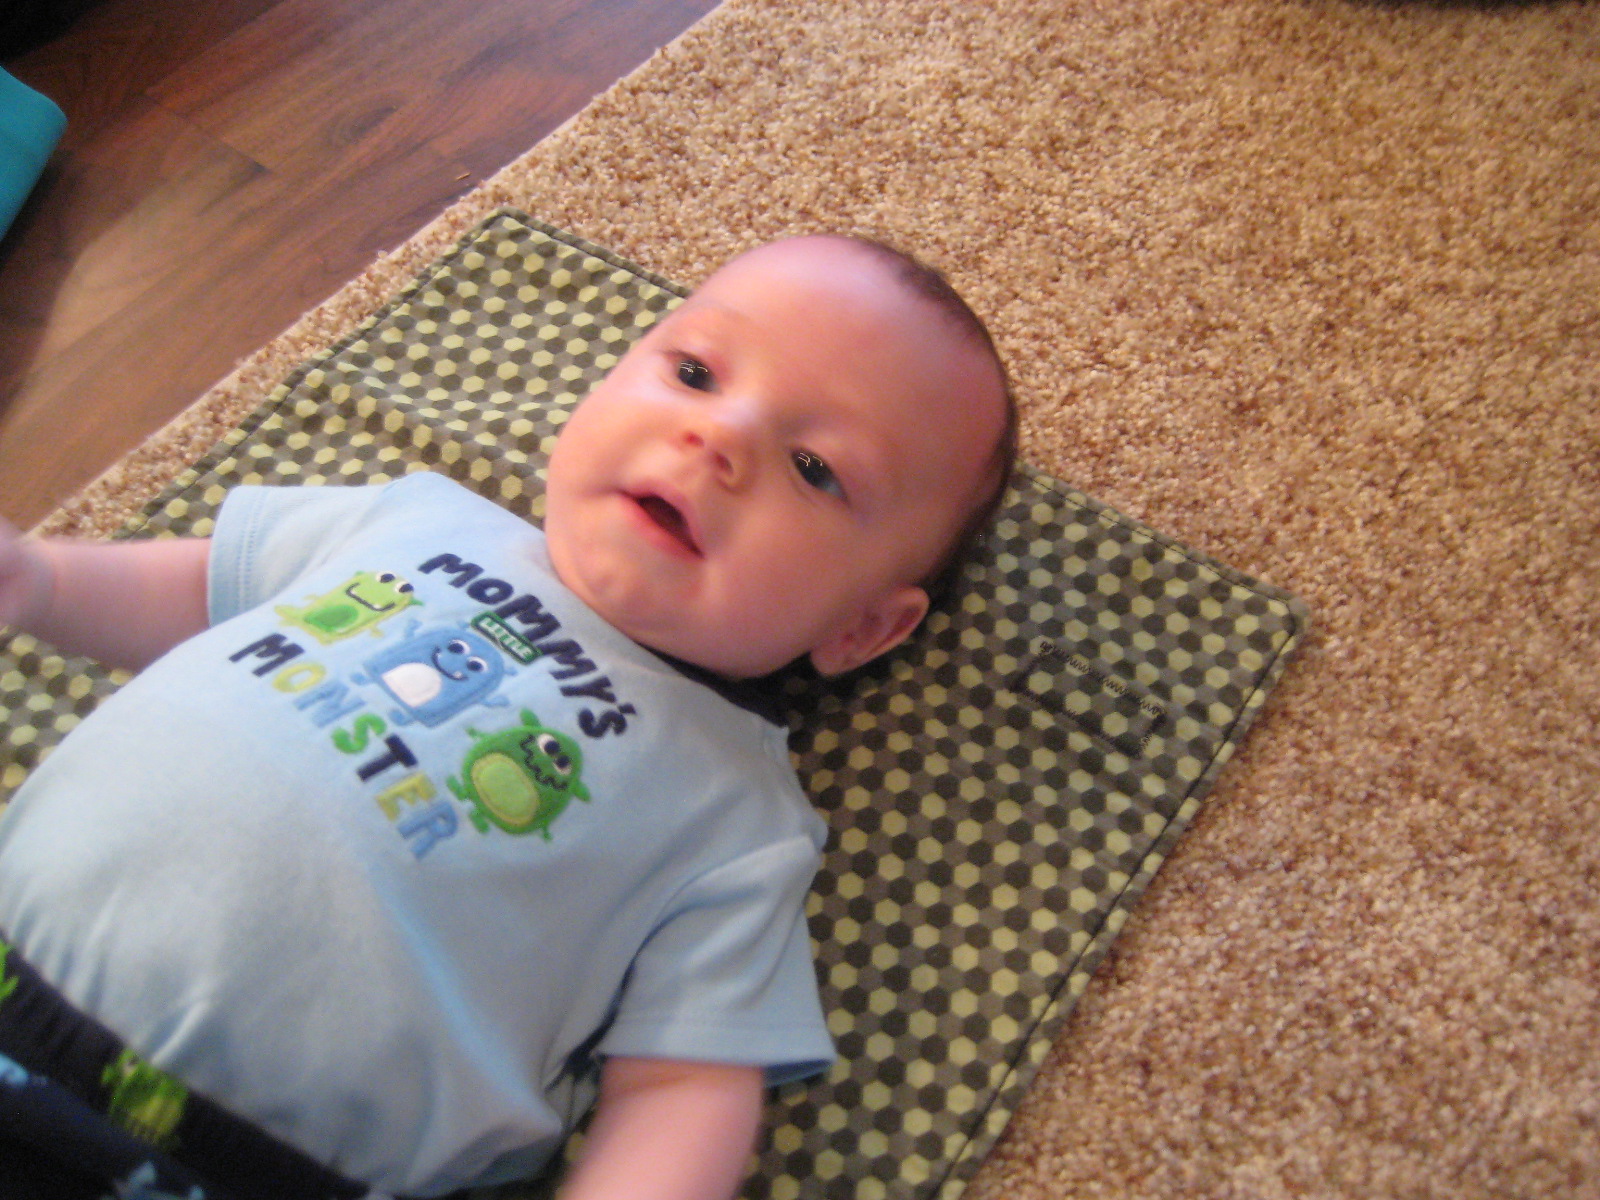

The blue is a scrap from Sentimental Sorbet and it is my first quilted item. I'm very happy with how it turned out.

Sunday, May 23, 2010
Receiving Blankets
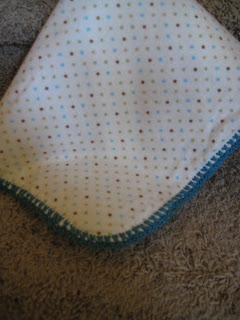
I now have a collection of receiving blankets and burp cloths, in part thanks to my sister-in-law Michelle (the fishes with red crocheted edge) and mother-in-law Elaine (the dot with turquoise crocheted edge). I'm highlighting the crocheted edges below. The blankets I made are a sew-around-the-edge and then turned inside out and I put a decorative edge along the outside (the green monkeys and the red-and-beige dino ones).




Tuesday, May 18, 2010
Thank You!
I have some amazing and talented family who really showered me with gifts for our baby. I want to highlight some of their crafts which have much better craftsmanship than mine. So I will be posting several times with pictures of these as I have the chance. It might be a little slow due to the fussy child who refuses to nap properly.
Soft Book Baby Gift

This soft book was made from a fabric panel for a friend when she had her first baby girl. Congratulations on your second girl Heidi!

Saturday, May 15, 2010
Wedding Cards
I made about 20 of these and gave them to my mother and mother-in-law for mother's day along with a set of birthday cards, baby cards, and all-occasion cards.


Saturday, May 8, 2010
Mother's Day Gift: Handprint Apron

I was only able to get most of the grandkids to paint their hands and put a print on the apron for their grandma (my mother-in-law). A couple of them were afraid to get their hands dirty ;) The apron is the Vanilla House "Absolutely Apron" and it says "We Love Grandma."
Saturday, May 1, 2010
April Showers Bring May Flower Clips
I used to make these flower hair clips with my neighbor, until she moved away. Since then, I don't have four cute little girls to make them for! Here were the results of one day's work:

Here are some of the flower clips that were made from the kits I put together to do with ladies from church.


Here are some of the flower clips that were made from the kits I put together to do with ladies from church.


Thursday, April 15, 2010
Bridal Shower Invitations
These are my favorite bridal shower invitations I've made. Then went in bright pink oblong envelopes!!!


Friday, April 9, 2010
Easy Tote

I made this one up and use it all the time. It is the perfect size and it is very simple. BUT I can't give instructions because it was a while ago.
Friday, April 2, 2010
Skirts Made Last Year

I made up these different skirts and here's how I did it:
For the orange cordoroy (top left) and the brown damask (bottom right) I had a store bought A-line knee length skirt, and laid it on my fabric and cut out 2 of fabric and two of lining. Then I sew them front-to-back, sew lining to fabric along the top, finish the bottom edges, and sew in a zipper. It's all pretty easy except sewing in the zipper.
Therefore, the blue-brown and the pink-green skirts are both elastic. Though it's hard to see, both are "tiered" skirts. The top tier is about 7" long. The second tier is the length left to get to my knees. The blue skirt, I gathered the second tier. The pink skirt, I pleated it. Neither of these are lined. I would say the blue skirt was the easiest of all.
I wish I could give dimensions so I can repeat this easier, but they were all a while ago and I've forgotten.
Friday, March 12, 2010
Polka Dot Curtains

I'm going to share my craft room now, so instead of my purple curtains, I wanted to throw together something less girly. Here are the instructions I made up:
13 peices of 4.5x9" for the tabs. Fold hot dog style and sew into a tube. Turn inside out (move seam to center), fold in half hot dog style (seam hidden), and pin every 9" along the curtain front panel (~135" wide).
Curtain front: Three 12" tall by width of the fabric of your favorite print, sewn together on the short ends.
Curtain back: Three 11.95" =) tall by width of the fabric in white, sewn together on the short ends.
Curtain trim: Three 6" by width of fabric in coordinating print, sewn together on the short ends, ironed in half the long way.
Sew front to back along the top, making sure tabs are in the seam allowance too. Sew along the short sides and turn inside out. Only the bottom edge is raw. Sew the curtain trim to the bottom of the curtain (turn the side edges inside). Then fold to the back (on the crease) and topstitch, stitch-in-the-ditch or handstitch the back edge down.
Here's the quilt top for the Topsy Turvey quilt that matches.

Thursday, March 4, 2010
More Black Apple Dolls
I had a bunch of kits leftover, and I made up the rest of the black apple dolls. It only took a few hours to make 7 dolls.


Tuesday, March 2, 2010

Monday, March 1, 2010
Baby Girl Gift Basket
I made this blanket and baby girl dress a couple years ago for Kristy.
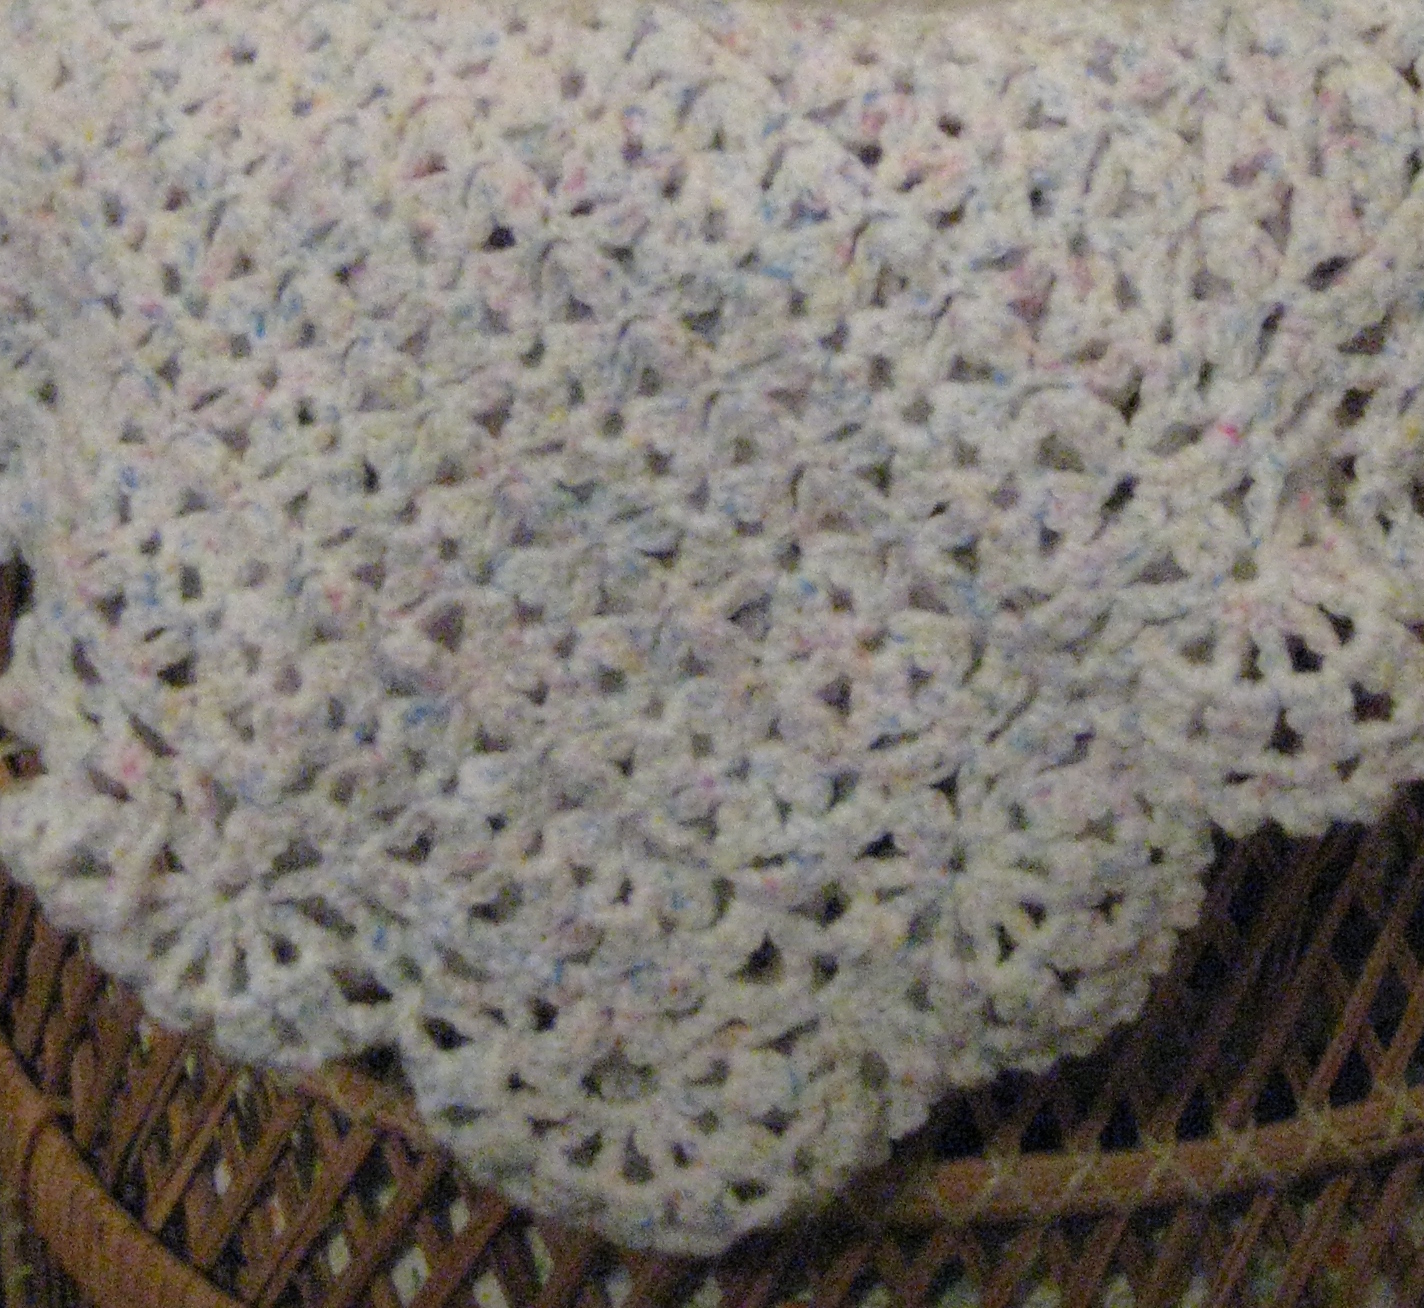

Then I packaged it in this gift basket with hair clips, a bib, an ABC book, socks, lotion and cookies. The idea came from the floral design class my college roommate and I took together. Only I don't think I had a floral arrangement in this basket.

Friday, February 26, 2010


Doggy Carseat Cover

This car seat cover was my own invention as well (though it's kind of lame to say you invented a rectangle). It is 45" (top-to-bottom) by 30" (side-to-side). The dogs is cotton. I sliced it in half, and sewed my tabs in at the middle seam as well as turned the print around so that "up" is the where the handle is from either direction. Therefore, even though the print has a top and bottom, the cover is symmetrical.
Anyway, I did snaps on the tabs and put them 10" apart but here's how I would do it next time:
(1) Cut 4 peices 4 1/2" by 4 1/2". Fold in half and sew, move seam to middle and sew along one short edge. Turn inside out and iron flat.
(2) Sew velcro onto each of the four peices.
(3) Space along top center seam about 6" apart.
(4) Sew cover top together at top center seam.
(5) Sew cover top to cover bottom, leaving opening.
(6) Turn, iron, and decorative stitch around.
I came up with one other useful feature, and added it last minute. I made four little ties so that instead of throwing the blanket over the handle, you can just tie half the blanket up to see the baby.
Subscribe to:
Posts (Atom)